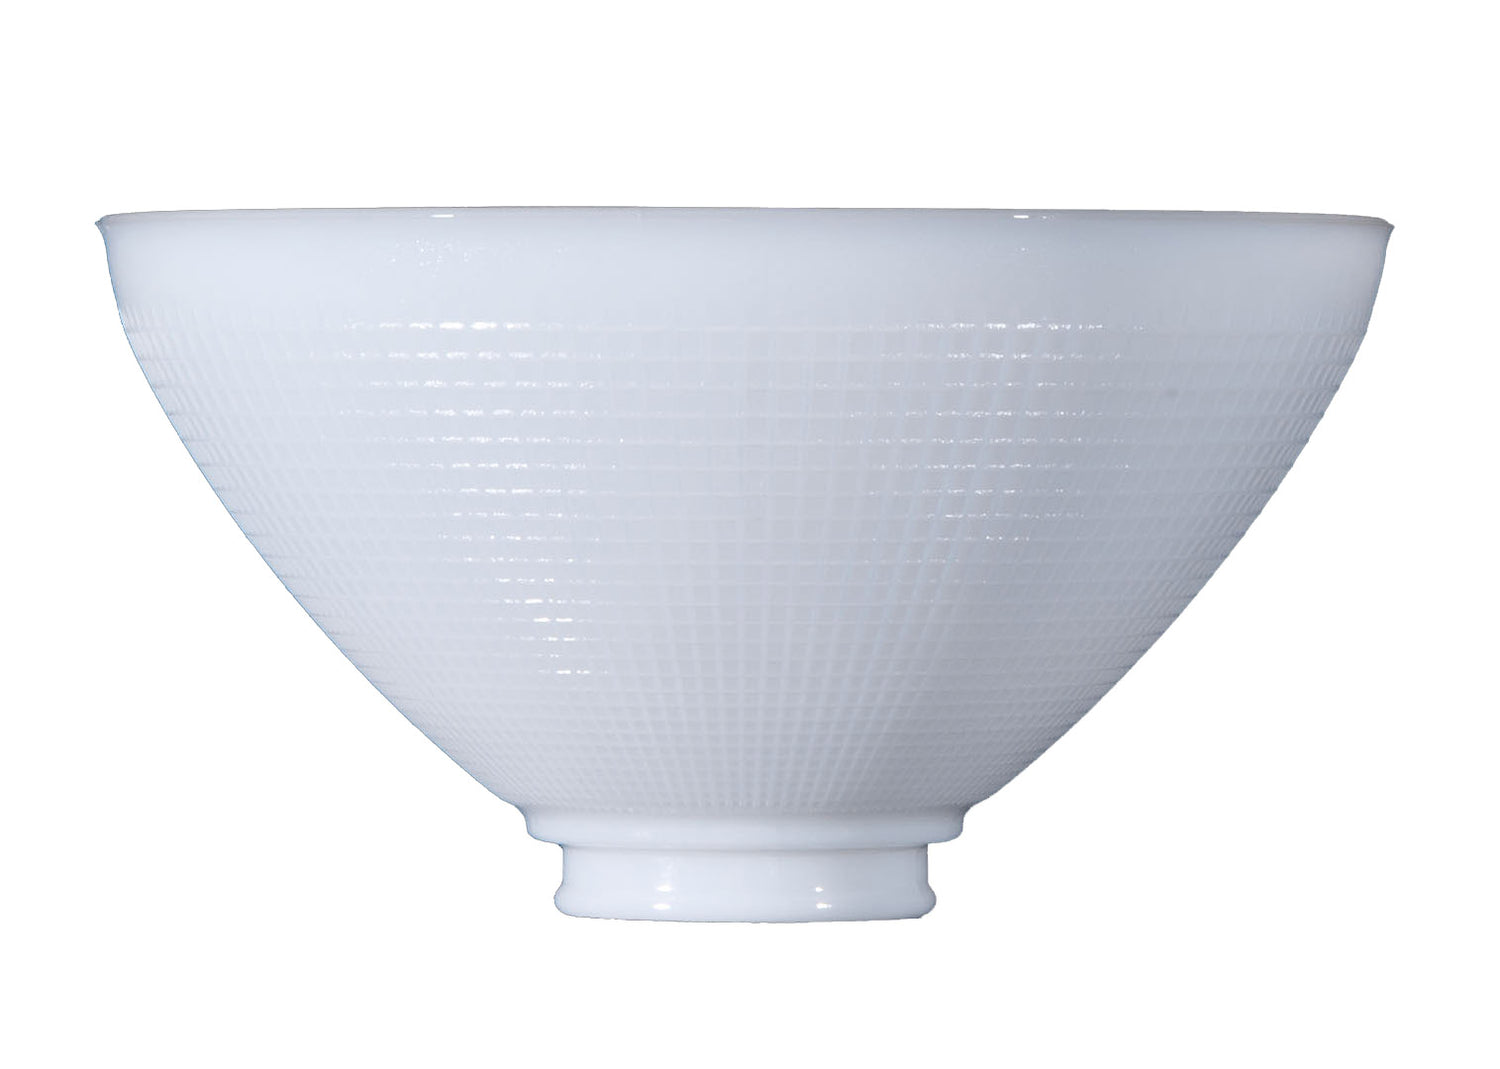
Could your home use a touch of bright light? Wall-mounted light fixtures are easy to replace and can add tremendous visual value to any room in your home. Unlike traditional table lamps or floor lamps, wall light fixtures typically direct light downward or upward to create accent or ambient lighting in a specific space. There are a wide variety of wall fixtures to choose from, such as sconces, wallchieres, lanterns, candelabrums, and much more. Whether you are hoping to brighten a narrow hallway or a dark staircase, we can help you learn how to install wall fixtures like a professional. We took the liberty of creating a step-by-step guide to help you get started and complete your installation with care and confidence.
How to Install Wall Fixtures
Before you attempt to install a wall-mounted light fixture, you must remember to turn off power to the circuit feeding the switch. When working with any kind of electrical equipment, you must test to confirm whether there is an electric current. Working on a light fixture while it still receives a current can increase the chance of electric shock, fire, or permanent damage to the fixture. If there is any chance that someone could turn on the switch while you are working, turn off the power at the main power panel instead. You should also flip the light switch on and off to verify whether the power is off before you begin. Next, just follow these steps to complete your installation in little to no time at all.
1. Assemble the necessary supplies.
Depending on where or at which height the wall-mounted light fixture will be installed, you may want to have a ladder of scaffolding on hand to ensure a comfortable working height. You should also have a screwdriver, a pair of wire cutters, electrical tape, and wire nuts at the ready.
2. Remove the old wall fixture.
Remove the cover plate, if applicable, to access the mounting screws of the existing fixture. There are several different mounting methods, so you may need to inspect your existing fixture to determine what is required. Once the light fixture is detached from the electrical box mounting bracket, remove the plastic wire nuts that secure the old wiring to the wall power wiring. Remove the existing light fixture completely.
3. Remove old mounting brackets.
Inspect and compare the existing mounting bracket to your new one. Brackets typically come in two varieties: a round plate with wiring that comes up through the center and a strap bracket that is used in the latest lighting. If the existing light fixture uses a strap bracket, replacing it may not be necessary.
4. Install the new mounting bracket.
Once the old mounting bracket is removed, install the new mounting bracket and tighten it securely with screws.
5. Adjust the post height.
Depending on the type of fixture mounting, adjust the height as necessary until the threaded cap can fit snugly. If you have a strap bracket the center area will house a threaded post with a decorative cap on the end. Install the new mounting bracket and test-fit the fixture until the post extends about one-quarter inch from the face of the fixture.
6. Install the ground wire.
Attach the ground wire to the green ground screw. Your new light fixture will include a copper ground wire and a bracket that comes with a green ground screw. Wrap the end of the copper ground wire clockwise around the screw for one wrap, double checking that it fits under the screw head. Tighten the screw accordingly.
7. Connect the fixture wiring.
Connect each colored wire to its corresponding, colored wire, twisting the wire ends clockwise and fastening them together with wire nuts. Wrap the wires with electrical tape if you are fastening more than two wires together.
8. Place the wiring in the junction box.
Take care in folding the wiring and placing it back in the electrical box, so you can avoid pinching the wires as you place the light fixture on the mounting bracket.
9. Mount the light fixture.
Adjusting the post height if necessary, place your new wall fixture on the mounting bracket. Mount the fixture using a decorative screw cap onto the post or with screws. Install the new light bulb and replace the removable lampshade.
10. Complete the installation.
Once you’ve installed the new light fixture and its light bulb, you can safely restore power and enjoy your new light.
We hope that this guide helps you learn how to install wall fixtures with safety as your main concern. If you have any questions about this guide or would like to learn more about our selection of hardware for wall-mounted fixtures, please contact Antique Lamp Supply today for additional information or further assistance.

