Lighting is something we all take for granted until it's gone due to the failure of a lamp component. However, it is much easier and more affordable than you might have thought to replace the old socket of a lamp or light fixture. The socket of a lamp is the component that provides an electrical connection to the light fixture. Despite its technical nature, a socket is safe to replace as long as you have a general understanding of electrical equipment and tools. We took the liberty of creating a step-by-step guide to help you get started and complete your installation with safety at the forefront.
How Does a Lamp Socket Work?
An Edison Screw (ES) is the most common type of standard socket used in North America. The ES socket features a threaded metal base that screws into the corresponding threaded socket of a lamp. When a light bulb is powered by an alternating current (AC), the socket's thread is connected to neutral phase and the contact on the bottom tip of the socket is connected to the hot phase. A loose socket can cause a lamp to flicker or refuse to illuminate, all of which can be solved with a simple replacement and the necessary tools.
How to Replace a Lamp Socket
Replacing the socket of an old or unused lamp is usually a non-notifiable task, making it unnecessary to have the work carried out by a certified electrician. Before you begin, you will want to assemble a socket of the same wattage and style as the existing socket of your candelabra or lamp. You will also need a pair of screwdrivers, wire strippers, electrical testing equipment, pliers, and a ladder or scaffolding to help you reach an elevated lamp. It is never a bad idea to troubleshoot the light bulb first to determine whether the problem lies with the bulb, the socket, or the wiring. If the socket is causing the issue, follow these simple steps to make the replacement process as painless as possible.
- Unplug the lamp. You must verify that the main supply of electricity is turned off at the socket you need to replace. Without double checking, you increase the risk of electric shock or causing permanent damage to your lamp.
- Remove the hardware. The lampshade, light bulb, and harp must be removed so you can access the socket. Test the lamp using a non-contact voltage tester to determine whether the socket's receiving any current. Verify that the power is off before proceeding.
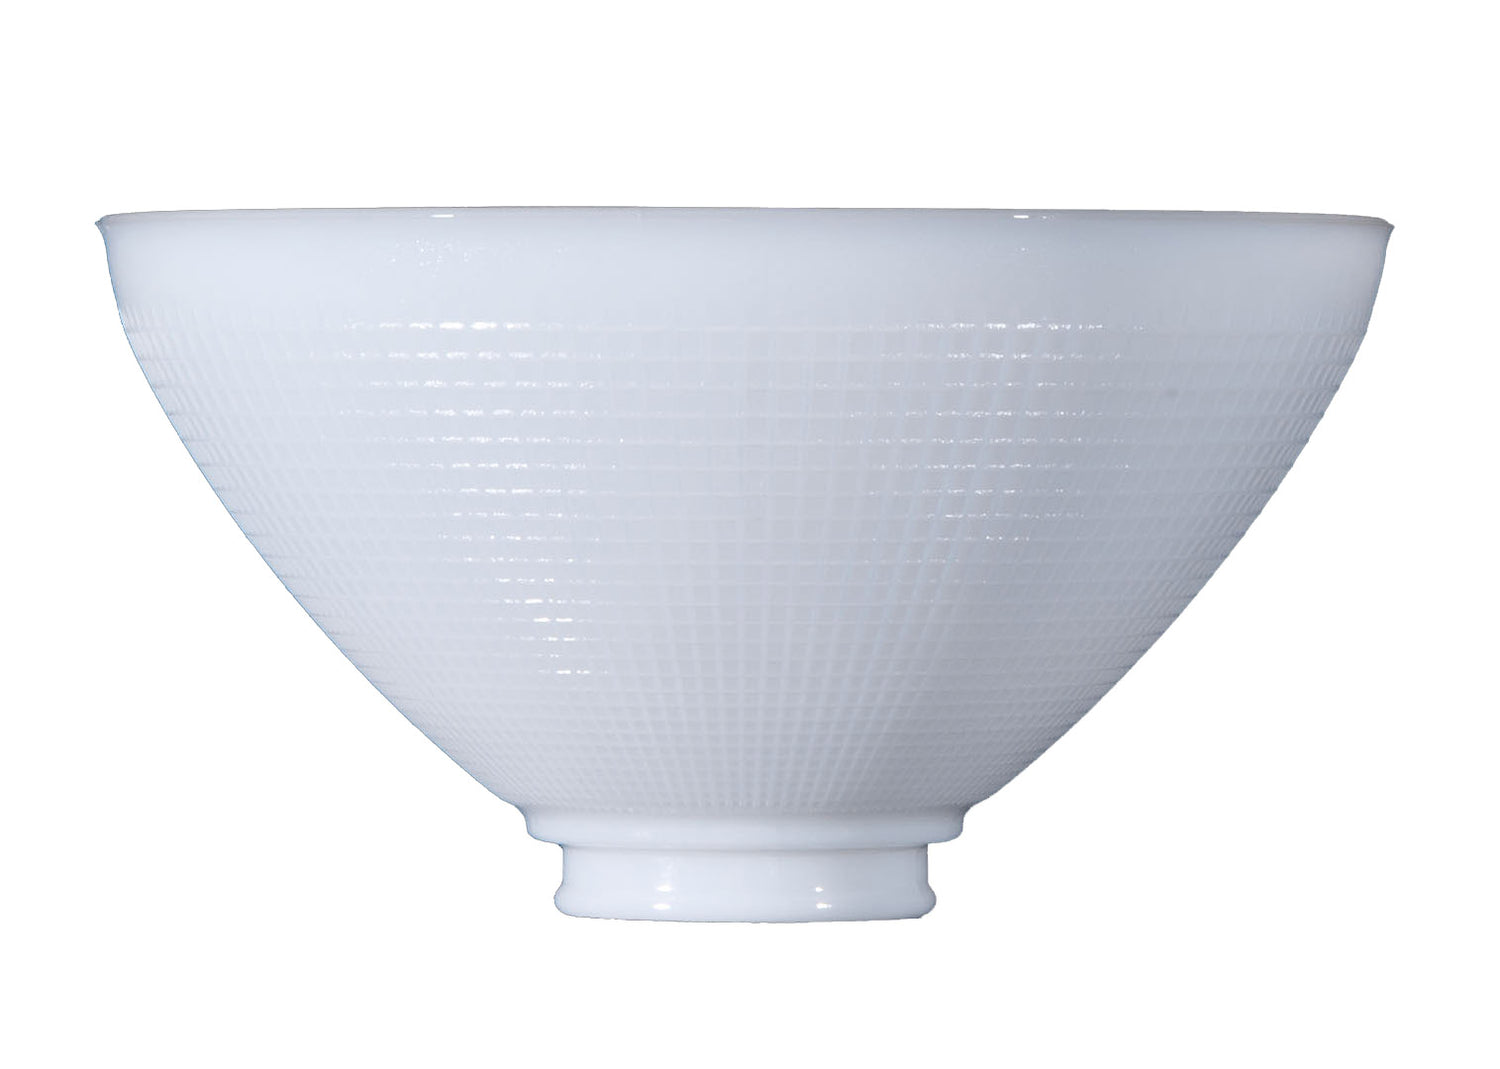
- Depending on the design of your lamp, remove the globe that is held up by internal clips or screws in the outer ring of the light fixture. Hold the light bulb with one hand while loosening the screw with the other and set it aside.
- Unscrew the two bracket screws in the center, so you can detach the socket from its mounting bracket. Twist the socket until the screw head can pass through the larger hole of the screw slots.
- Twist the wire nuts counterclockwise and remove them from the wire. Separate the wires and disconnect the ground wire, if applicable. Pull the wires from the socket through the hole so that the socket can be removed.
- Use a Phillips screwdriver to remove the socket from the lamp.
- Split the socket apart by hand or use a letter opener – most socket sleeves are labeled to show you where it's best to press down. Look inside to locate the Phillips screw and loosen it while holding the retaining nut. Once the screw is removed, carefully tip the socket into your other hand and retain the socket screw. Discard the old socket.
- Install the socket replacement by tightening the screw you just removed. Avoid securing the screw too tight, because you could potentially break the socket. Feed the wires back into the lamp.
- With the socket in place, reconnect the wires using one wire nut per color. Realign the larger mounting slot of the lamp with the mounting bracket screws. Push the screws through the holes and twist to prevent the lamp from falling. Secure all screws and double check that no wires are protruding from the base.
- Find the maximum wattage rating that is printed on the side of the new socket and install a compatible light bulb. Clean and reattach the globe by tightening all the screws, replacing the retaining nut, or pressing the globe up into the clips. Restore power to the lamp and test to make sure the light turns on.
Now, you know how to safely and successfully replace the socket of a lamp. We are pleased to offer a wide selection of sockets, caps, insulators, and more. Please don't hesitate to contact Antique Lamp Supply if you have any questions about how to replace lamp sockets or our selection of replacement hardware. One of our friendly and experienced lamp specialists will be happy to assist you.

